Customising your Dynamics 365 Business Central System
Users have the ability to personalise their Dynamics 365 Business Central solution and make it work for them!

See Dynamics 365 Business Central in action

Dynamics 365 Business Central Role Centres
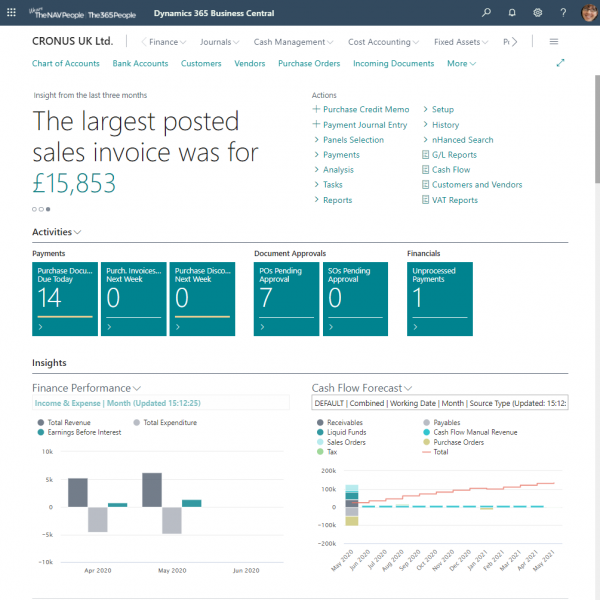
Every time you log into Dynamics 365 Business Central, you’re presented with the new and improved Role Centre. This screen acts as your dashboard, which means it’s really important that the information it shows is relevant to what you do!
Fortunately, out-of-the-box there are a myriad of pre-configured Role Centres to choose from. Just click on the ‘My Settings’ button and from there you can choose whichever Role Centre you like.
This not only changes what you see on that first dashboard, but it also tailors other screens within the solution based on the role you’ve chosen. So, often you’ll see different fields and actions based on this choice.

Custom Configuration
Your Role Centre and List columns are two simple customisations you can make at any point, however what if you want to go further and really start tailoring the solution to your needs? The ability to personalise the solution is built directly into Dynamics 365 Business Central. This gives you the power to change almost everything you see throughout the system using a simple click and drag interface.
Design and Personalisation Modes
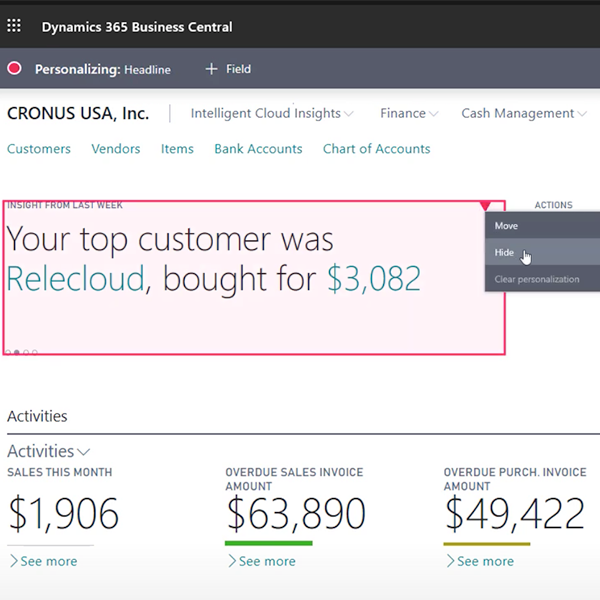
There are two different modes for this tool, ‘Personalisation’ and ‘Design’. The main difference between these two is simple: Personalisation means that changes you make only apply to you, whereas Design means changes you make apply to everyone that uses the system.
You can restrict who is allowed to do what. You might not want just anyone making system wide changes. Wherever you are within the system, clicking on the ‘Design’ or ‘Personalise’ option will put you in the configuration mode, which is where you can start making your changes.
Talk to our experts for more on how Business Central can be tailored to your organisation

Personalising Pages
List Pages
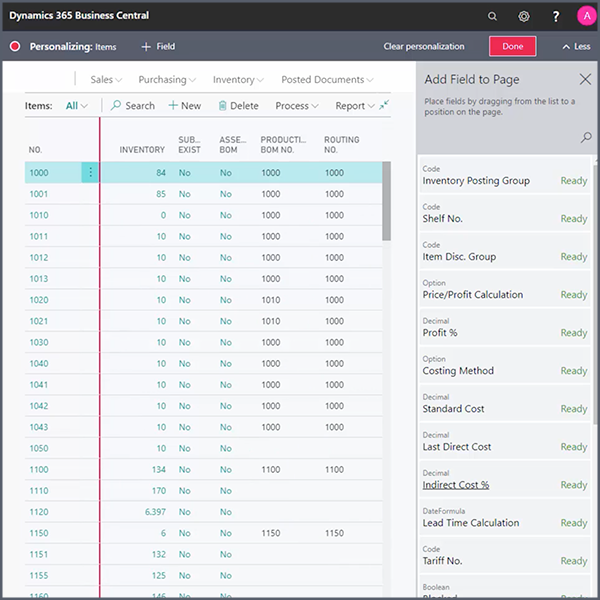
For Lists you can remove almost anything on the page. You can also reorder columns by clicking and dragging. You can also click on the ‘+ Field’ button, which will show you a list of all the fields in the system for the specific record the page is based on (Customers, Items, Vendors, Purchase Headers, Sales Headers etc.).
Each field has a status of either ‘Placed’ or ‘Ready’. If the status is ‘Placed’, this means that it’s already on the page. If it’s ‘Ready’ it means that it’s not currently shown on the page, but that you now have the power to change that. Just drag and drop the field to where you want it to appear, and it’ll add it to the page! In ‘Design’ mode you have even more options, such as options for Actions, Parts and Pages. If the system has them hidden, then you can add them using this same method.
Card Pages
Design mode on Card pages works almost identically to the Lists, however, this time when placing fields, you can decide not only which order they appear in, you can also decide in which section they should go by dragging and dropping.
Learn everything there is to know about Business Central with our Ultimate Guide

Creating Extensions
When you’ve finished making your changes the next step depends on which mode you were in (Personalise or Design). In Personalise mode, click ‘Done’ and your changes will be applied (only for you).
In Design mode there are a few extra steps. Clicking on the ‘Stop Designing’ button requires the ‘Extension Name’ and ‘Publisher’. This is because, by using the Design tool, you’re actually creating an Extension (congratulations, you’re now a developer!) Once you click the ‘Save’ button, the extension is automatically installed on your system.
Beware though, as with other extensions, this change will take effect for all the users on the system. If you want to remove your changes, go to the Extension Management screen, find the extension and click on ‘Uninstall’. This will undo your changes, leaving the solution as it was when you started. You can then ‘Install’ the extension again or click ‘Unpublish’ and delete it altogether.
.png)